SET UP MIXPRE3 II FOR BIRD RECORDING (STEREO)
There are always people looking for solutions for powering your sound equipment, and of course you can always find some really fancy, expensive stuff from major brands in the large ware-houses. OR you create something on your own that actually works even under the most extreme conditions. When I first got a Zoom F4 with a 12V input I must admit that was a nut to crack, how to use all my 5V Powerbanks to power up the 12V Zoom F4 in field? A bit of googling and looking at solutions for 5-12V DC converters and there are actually quite a few to get out there. I found mine at chineese dx.com for ab 5 USD and it works! I ordered a 12V digital voltmeter as well, found a small plastic box and put it all together.
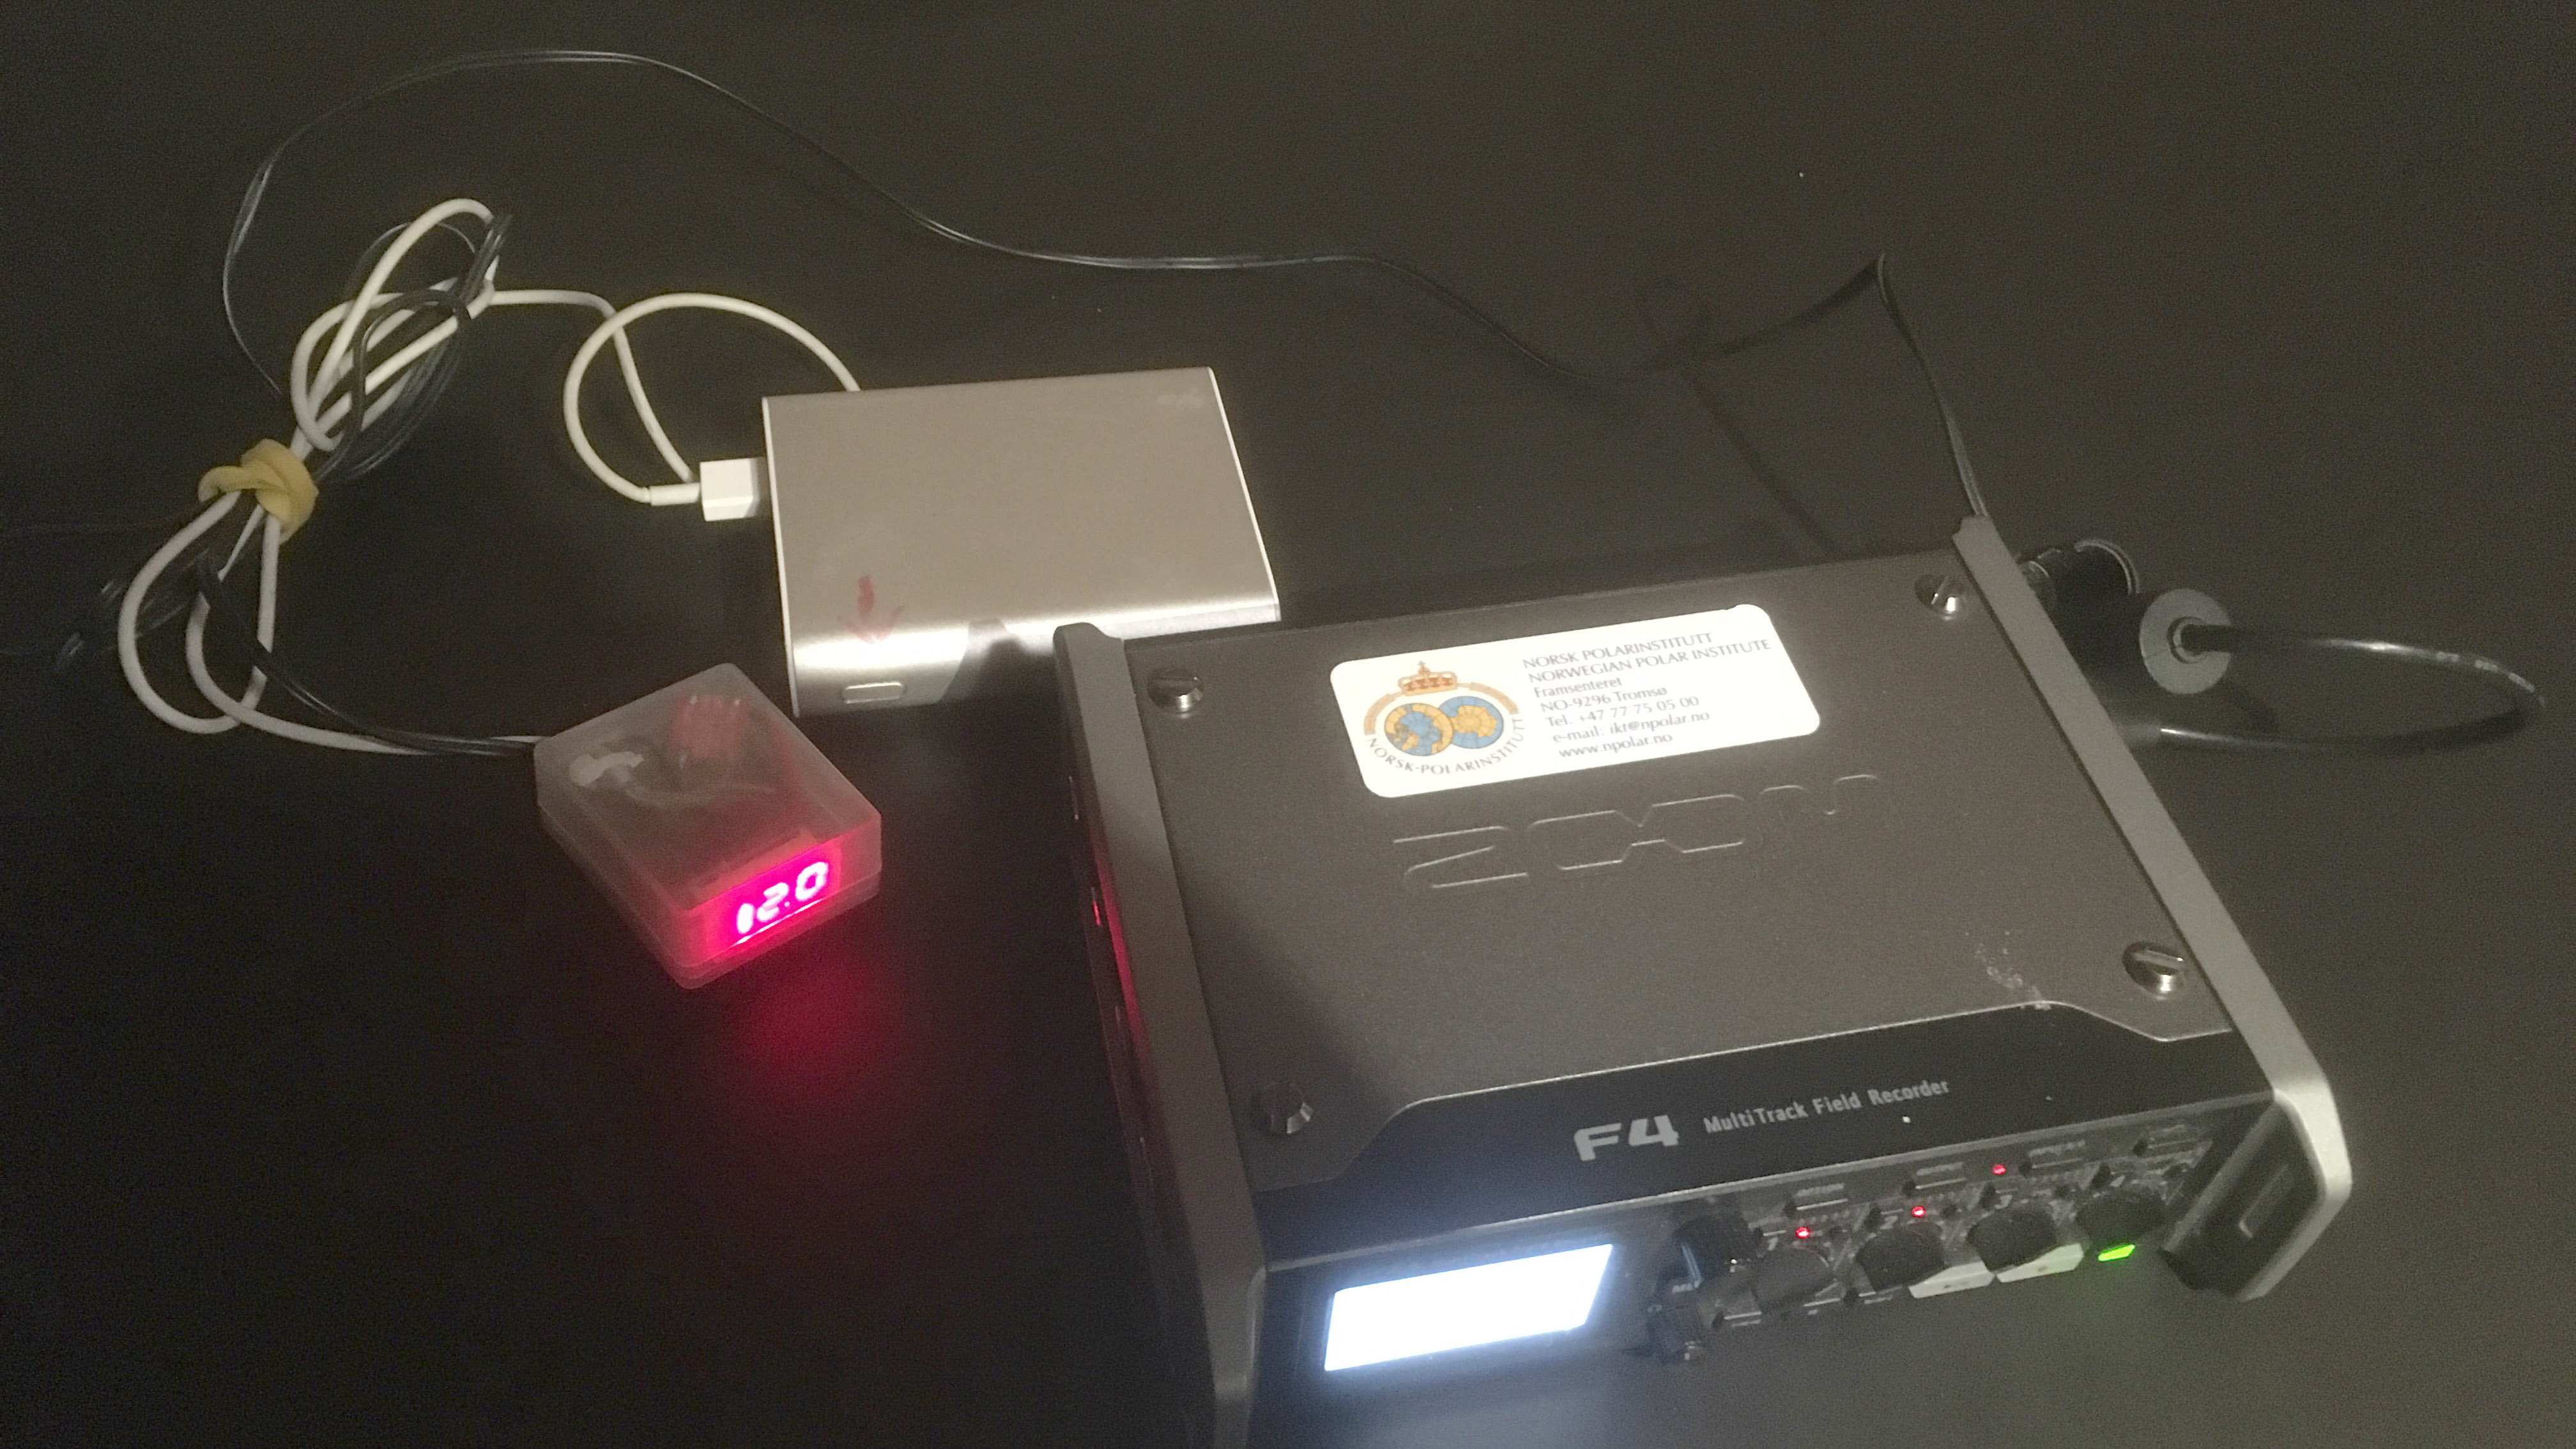
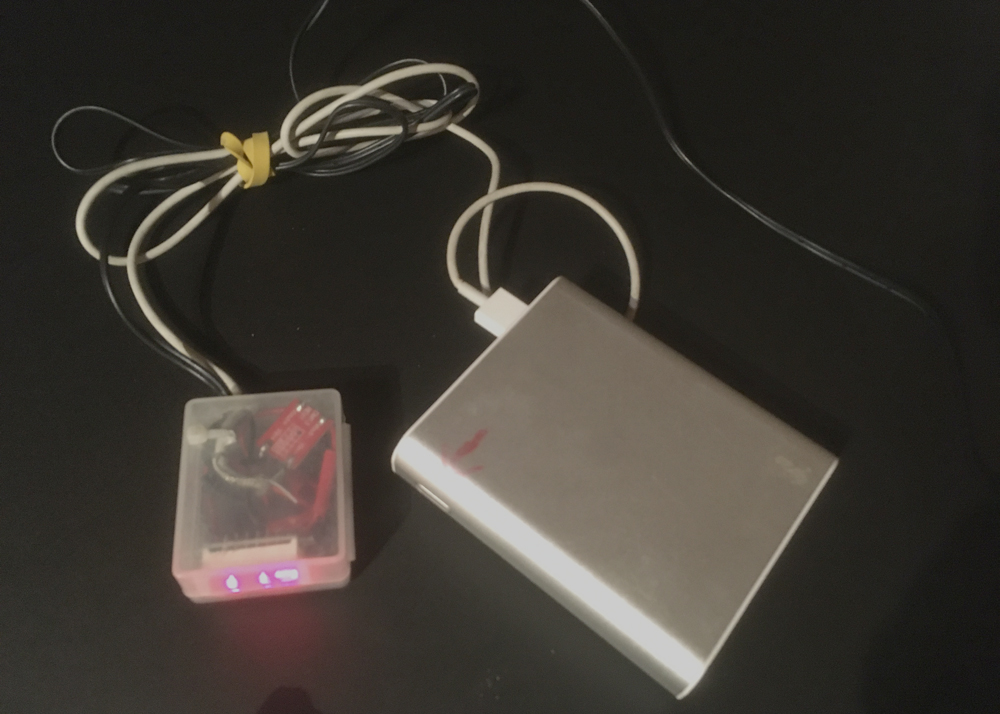
The Zoom F4 works from 9-13V so this solution with a 5V Powerbank goes for hours.
The MixPre3 II is a great recorder with ability to record up to 32 Bit float files, the 64Gb SD-card creates 4.2 Gb files maximum and runs for ab 1h 20 minutes/file with 96 Khz resolution. This means a maximum of 20 hours on this size cards. 128GB SD-micro in adapters are now readily available for a low price, Kingston adn Sandisk micros work great in the Mixpre3 II.
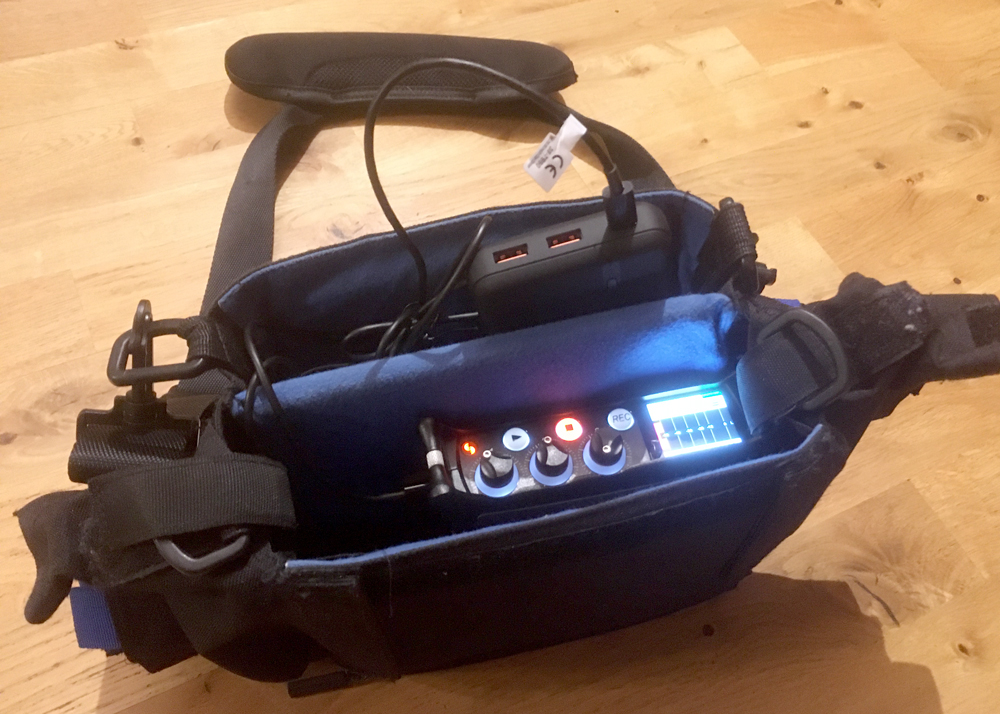
A couple of issues with the MixPre3, the power switch is really awkward placed in between the USB C and A connectors and is really hard to hit when in a bag! Also the volume knob is a bit fiddly when in a constrained bag like the F4-bag.
MIX-PRE3 ll SET-UP FOR BIRD RECORDINGS
A complete setup guide for brid recording you’ll find at Mackaulay
The set-up of the mixpre for bird recording is very funny and awkward explained in the manual!
Connect the XLRs for your stereo mics at input 1 & 2 and push the left button for first channel and set:
PHANTOM 48V,
INPUT: MIC,
PHASE: NORMAL,
DELAY: 0 ms,
Linking: 1-2 and do the same for channel 2 (mid button/knob) set PHANTOM: 48v,
PHASE: NORMAL.
You will now see the UV-meters flashing in both channels.
If you like to utilize the 32 bit float files you have to set the recorder to Advanced mode in the System menu and also set the Record: Rec L&R> L&R Linked. Then you control the fader (GAIN) )with 1st (Left) knob and balance within the two mics with 2nd/mid knob. Channel 3 has no function when doing only stereo recordings.
If you have a PIP (Plug-in-Power) mic you connect that to the 3.5 mm close to the headphone input. Set Inputs>Aux in Mode: Mic. Choose the sample rate 48 or 96Khz for good results.
An even better solution for your 3.5 mm mics is an adapter for XLR to 3.5 mm like the one from www.soundprofessionals.com – it’s costly but really does the work even on Telinga systems with 3.5 mm plug or a simpler PIP mic like the EM-172 or EM-272.
. Here are the steps I would take to set up your mic:
1. Connect the mic to the AUX-IN jack on the right side of the MixPre-3.
2. Press down on the first black fader knob, and set INPUT to AUX-IN 1.
3, Increase the on-screen GAIN on the fader knob menu as well. (IMPORTANT)
4. Finally, go back to your meters screen and then turn the black fader knob up.
NB! The AUX.IN does not give as much gain as the XLR-inputs!
If you use a USB-backup you can monitor the reading of data back to stick:
You can tap the bar at the very bottom of the LCD to change what you see in the bottom bar. You should see COPYING xx% when you are on the correct bar and the USB is copying data.